User defined elements
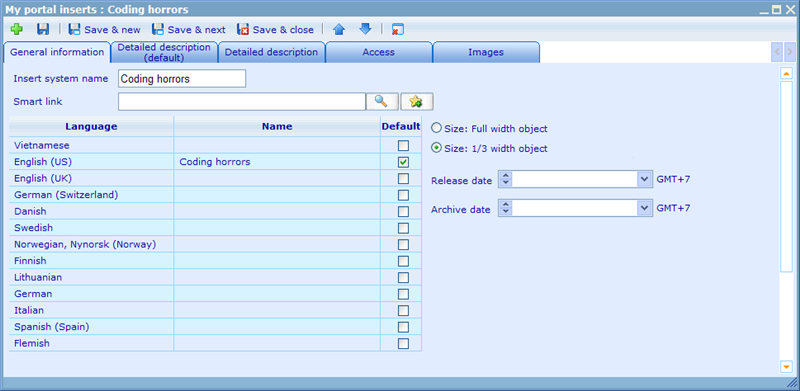
To create a user defined element you must click the add button on the My Portal element resource list. This will open the following dialog.
The first thing to do is to give the element you are creating a system name. This name is just for administration purposes. The name that the users will see is to be inserted in the language control beneath the system name. This is the element display name. You must specify a display name for at least one language chosen as default. If the logged in user does not have a display name in his language then the default language will be used.
You must also choose the width of the element. There are two options. One is full width, which will cover the entire width of the 'My portal' page of a user. 1/3 width will obviously cover less.
If you do not want the element to appear outside a certain time frame, you can choose a release and archive date. If an element is not inside this period it will not be shown on any 'My portal' pages or 'Add element' choosers, even though users may actually have access to them. If you want to release a piece of news on a certain date, you can create it, give access to it to the relevant people and then push it to their 'My portal' pages. Even though it in reality is on the page it will not be shown before release date and time arrives.
If you would like to link from the 'My portal' element to a resource in your system, you can use the smart link feature. It is currently possible to link to Reports, Diagrams, Monitors and Questionnaires. The first three will open the viewer, where as linking to the questionnaire will open a new answer sheet of the stated questionnaire, so the user can answer the specific questionnaire immediately. Notice that there is a default text for the smart link, but that it is further possible to change this on the detailed descriptions tabs. Below you can see how a smart link looks when used for a 'My portal' object.
Once these choices are made you should click the save button in order to activate the Images tab. Then insert any images on this tab that you are planning to use in the element.
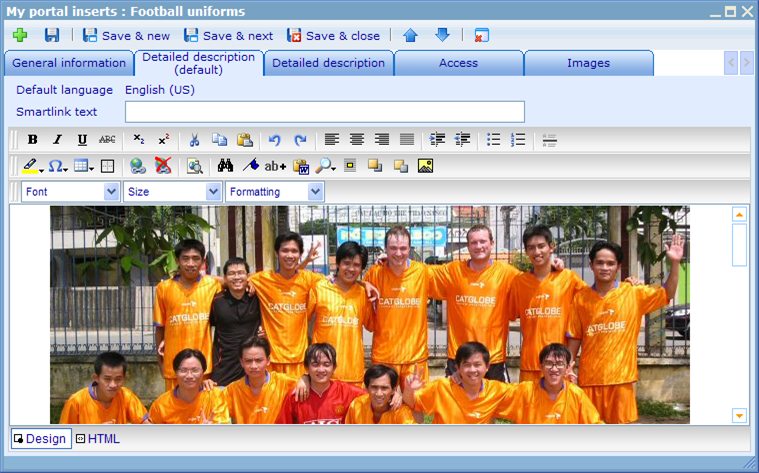
Now you are ready to set up the element on the detailed description tab. As you will see there exists two of these. This is to help you manage the writing of detailed descriptions in more languages and cross checking quickly between languages. The 'detailed description (default)' tab shows the default language and should be the first language to set up.
The detailed description tab works like any other HTML editor in the system. You can set up fonts, colors, images, links, and much more. Once you are satisfied with the default language set up you can copy the HTML to other languages and translate appropriately.
Final thing to do is to set up access to the users that should be able to see the elements. When this is done the element will immediately be available in their add element dialog. If the user does not have access to set up his own My Portal you must set it up for his user resource template type as you can read more about by clicking here!


